
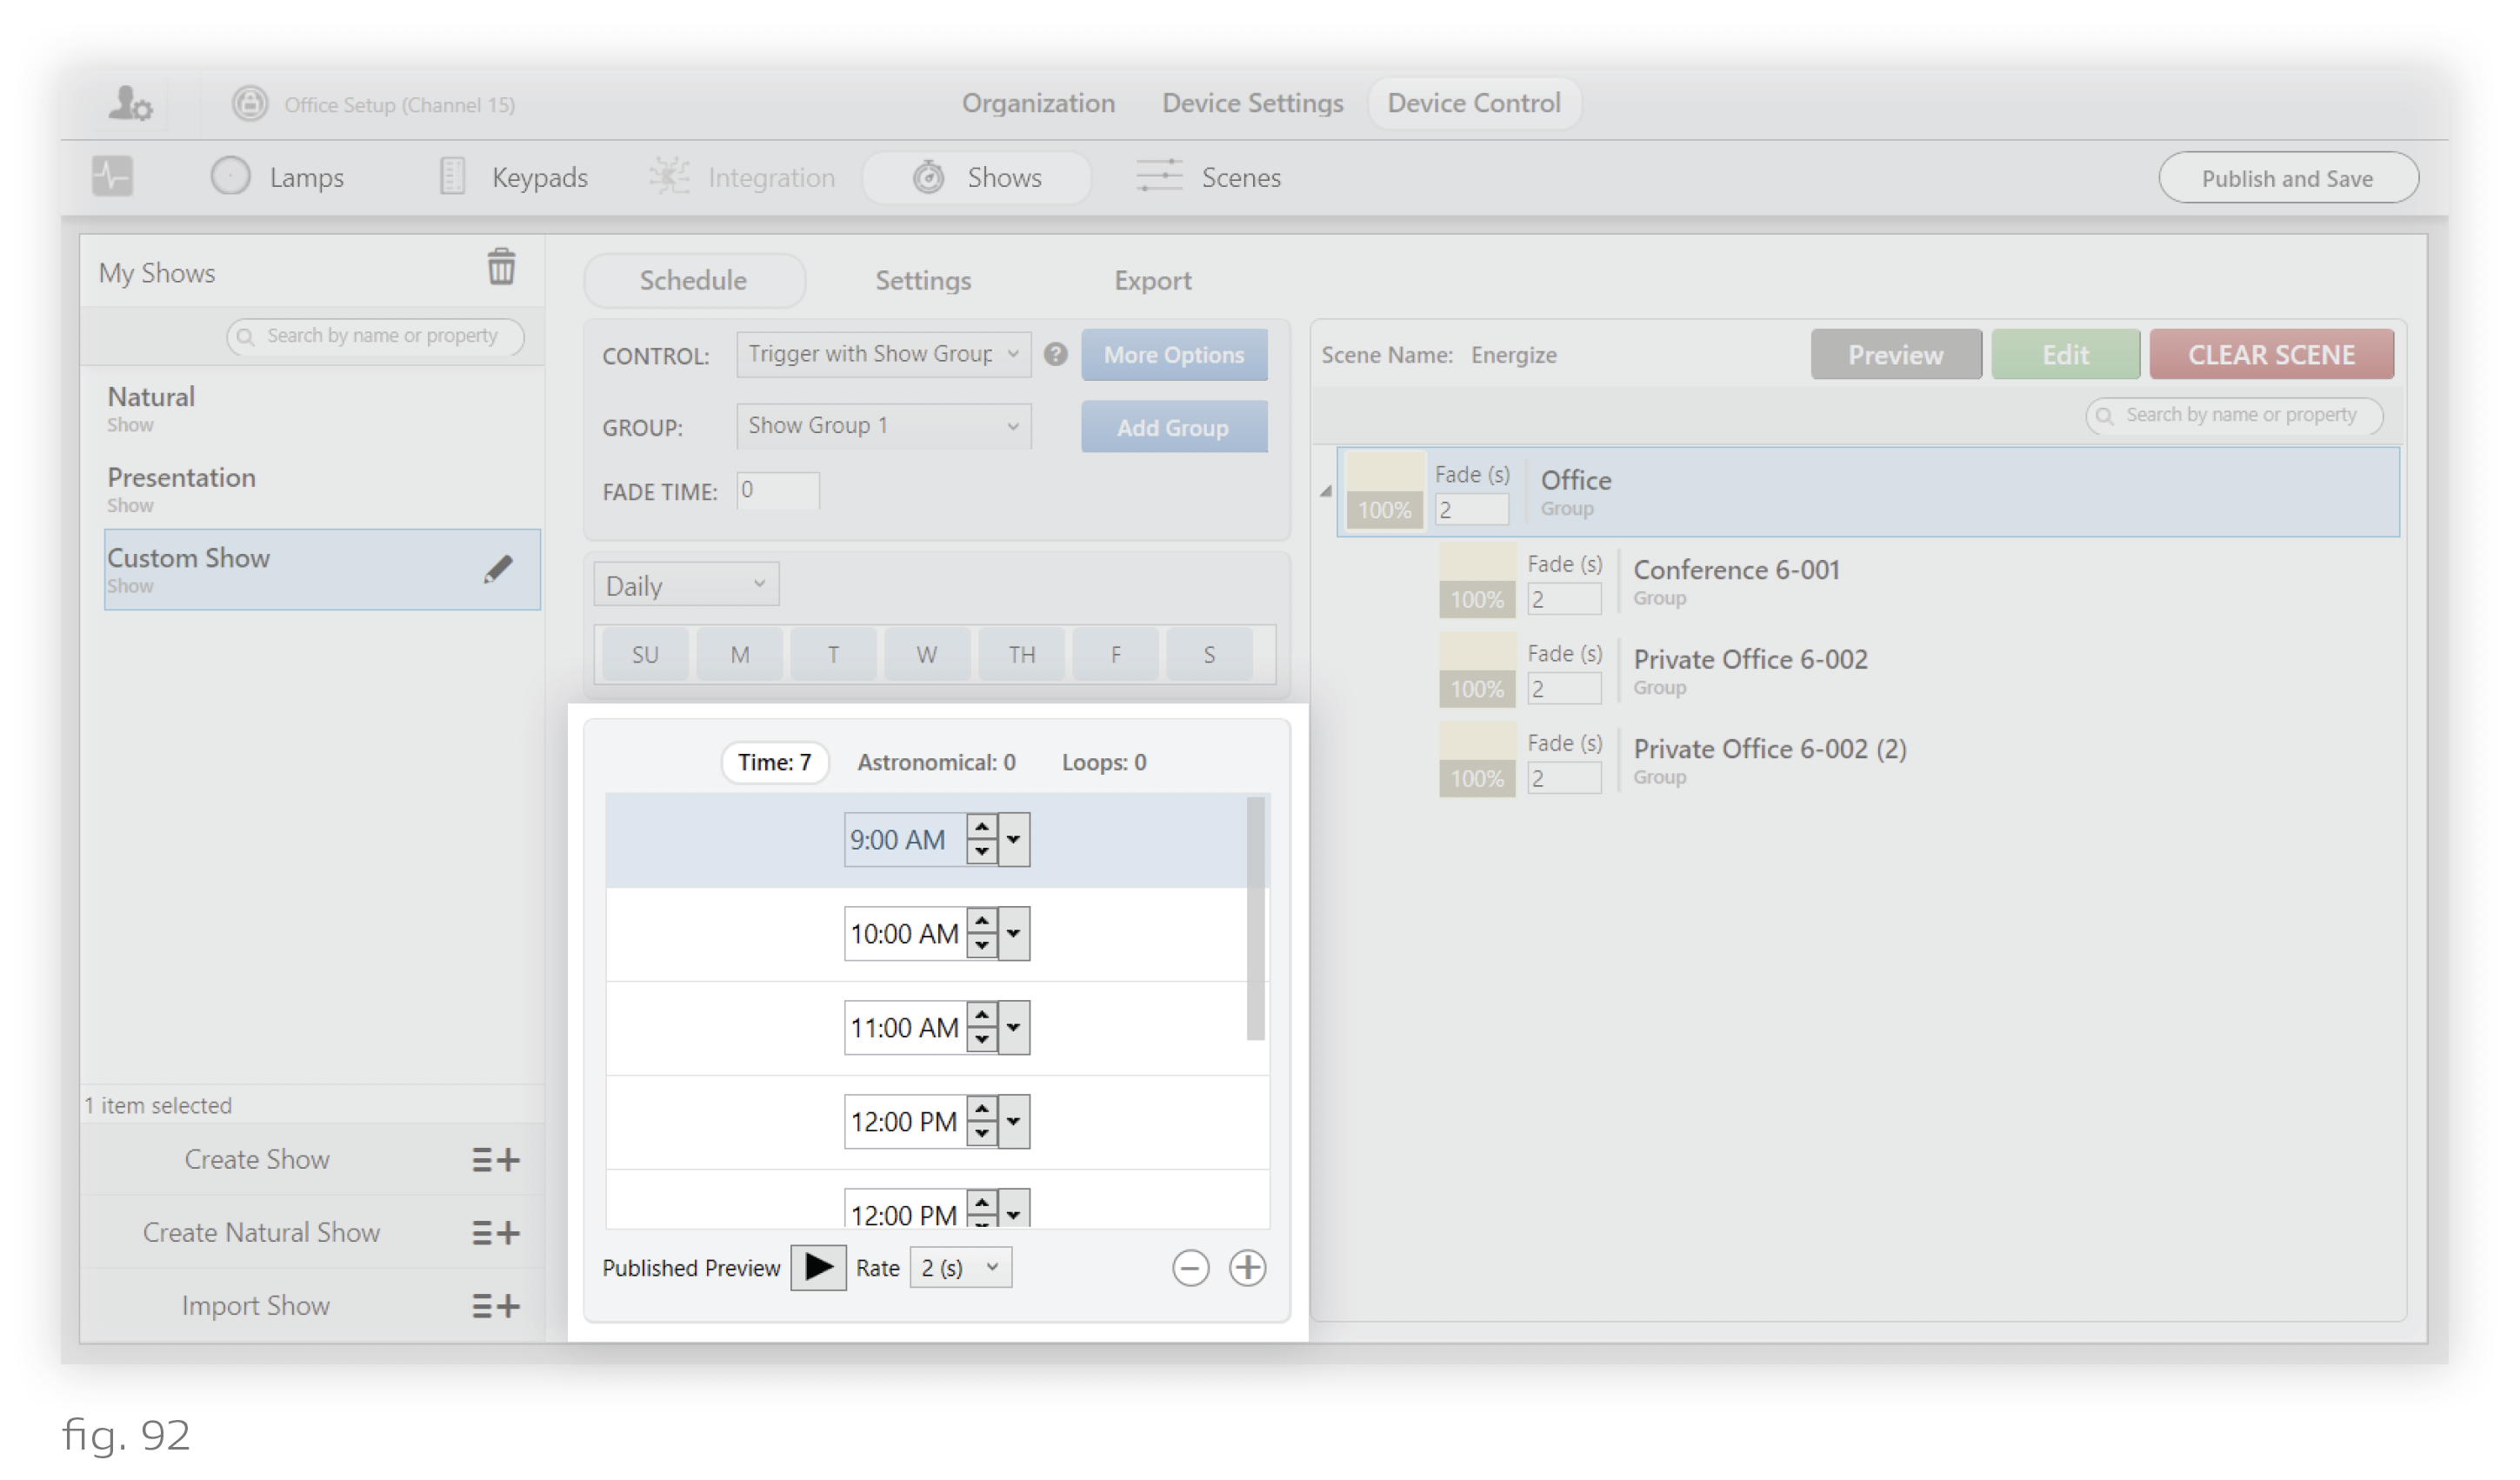
In a show, a trigger is a time at which a change in lighting takes place. The triggers for any show can be found in the triggers list, near center screen. You can use the same pane to add, remove, and modify triggers.
There are three types of time trigger, and your show will function differently depending on which type you pick.
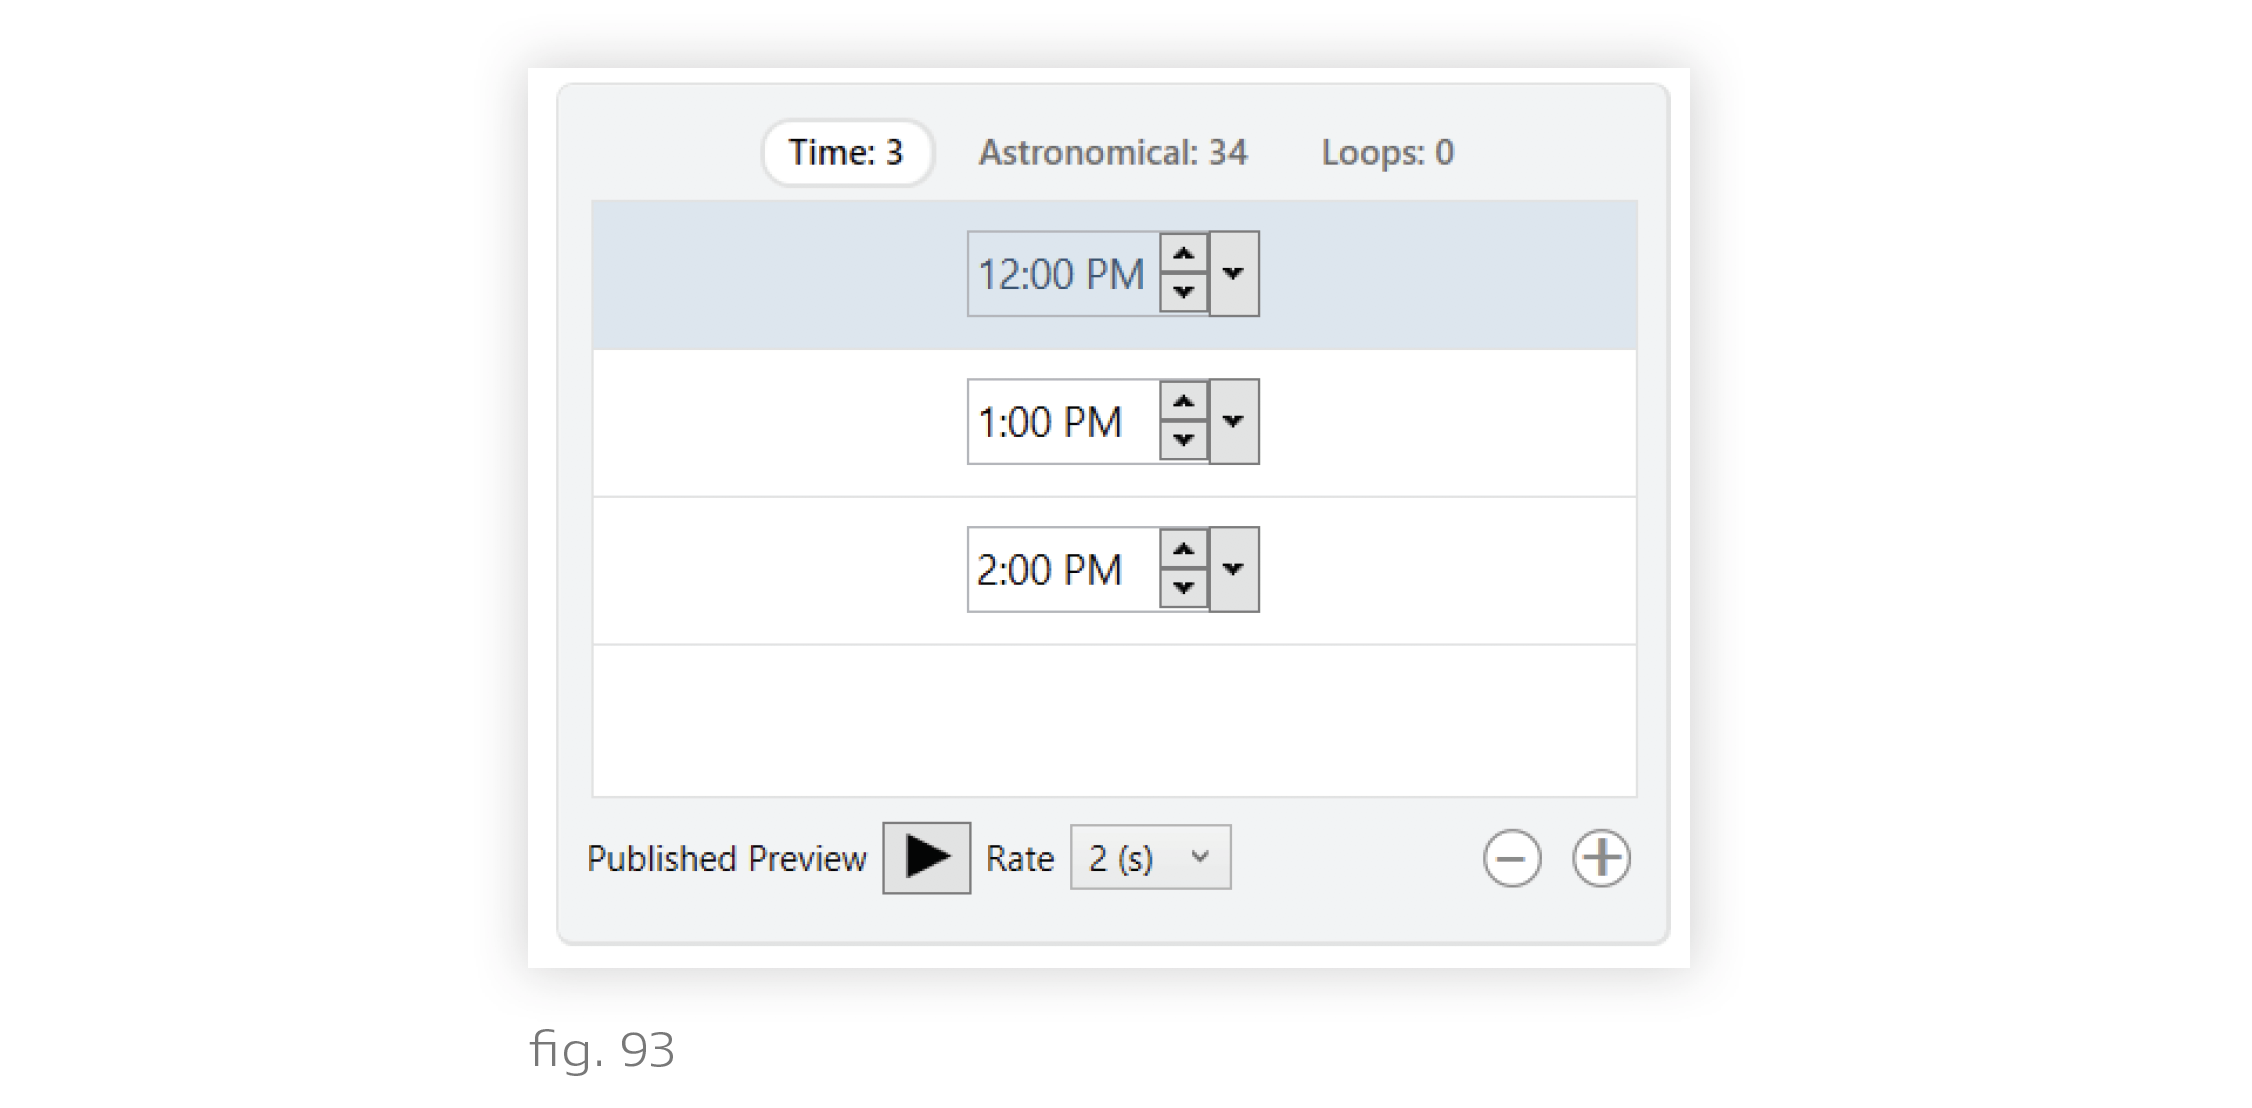
Fixed Time Triggers
These take effect at specific times of day. Example: At 2 PM, a new scene plays; at 3 PM, another scene plays.
On the Time subtab of the triggers list, use the + button to add triggers. Remove triggers by highlighting one and clicking -.
You can change the time of a trigger using the dropdown, the increment/decrement buttons, or by clicking on the time and typing a new one.
Astronomical Triggers
These take effect at times that are relative to sunrise and sunset. Example: Starting an hour before sunrise and lasting until an hour after sunrise, lighting gradually brightens to mimic sunlight.
Note: Times of sunrise and sunset are determined daily, based on the installation’s location. This enables your lighting to stay in sync with natural light year-round.
On the Astronomical subtab of the triggers list, use the + button to add times; remove times by highlighting one and clicking -.
In this image, the show will trigger changes at sunrise and at four hours after sunrise, then again at four hours before sunset and at sunset.
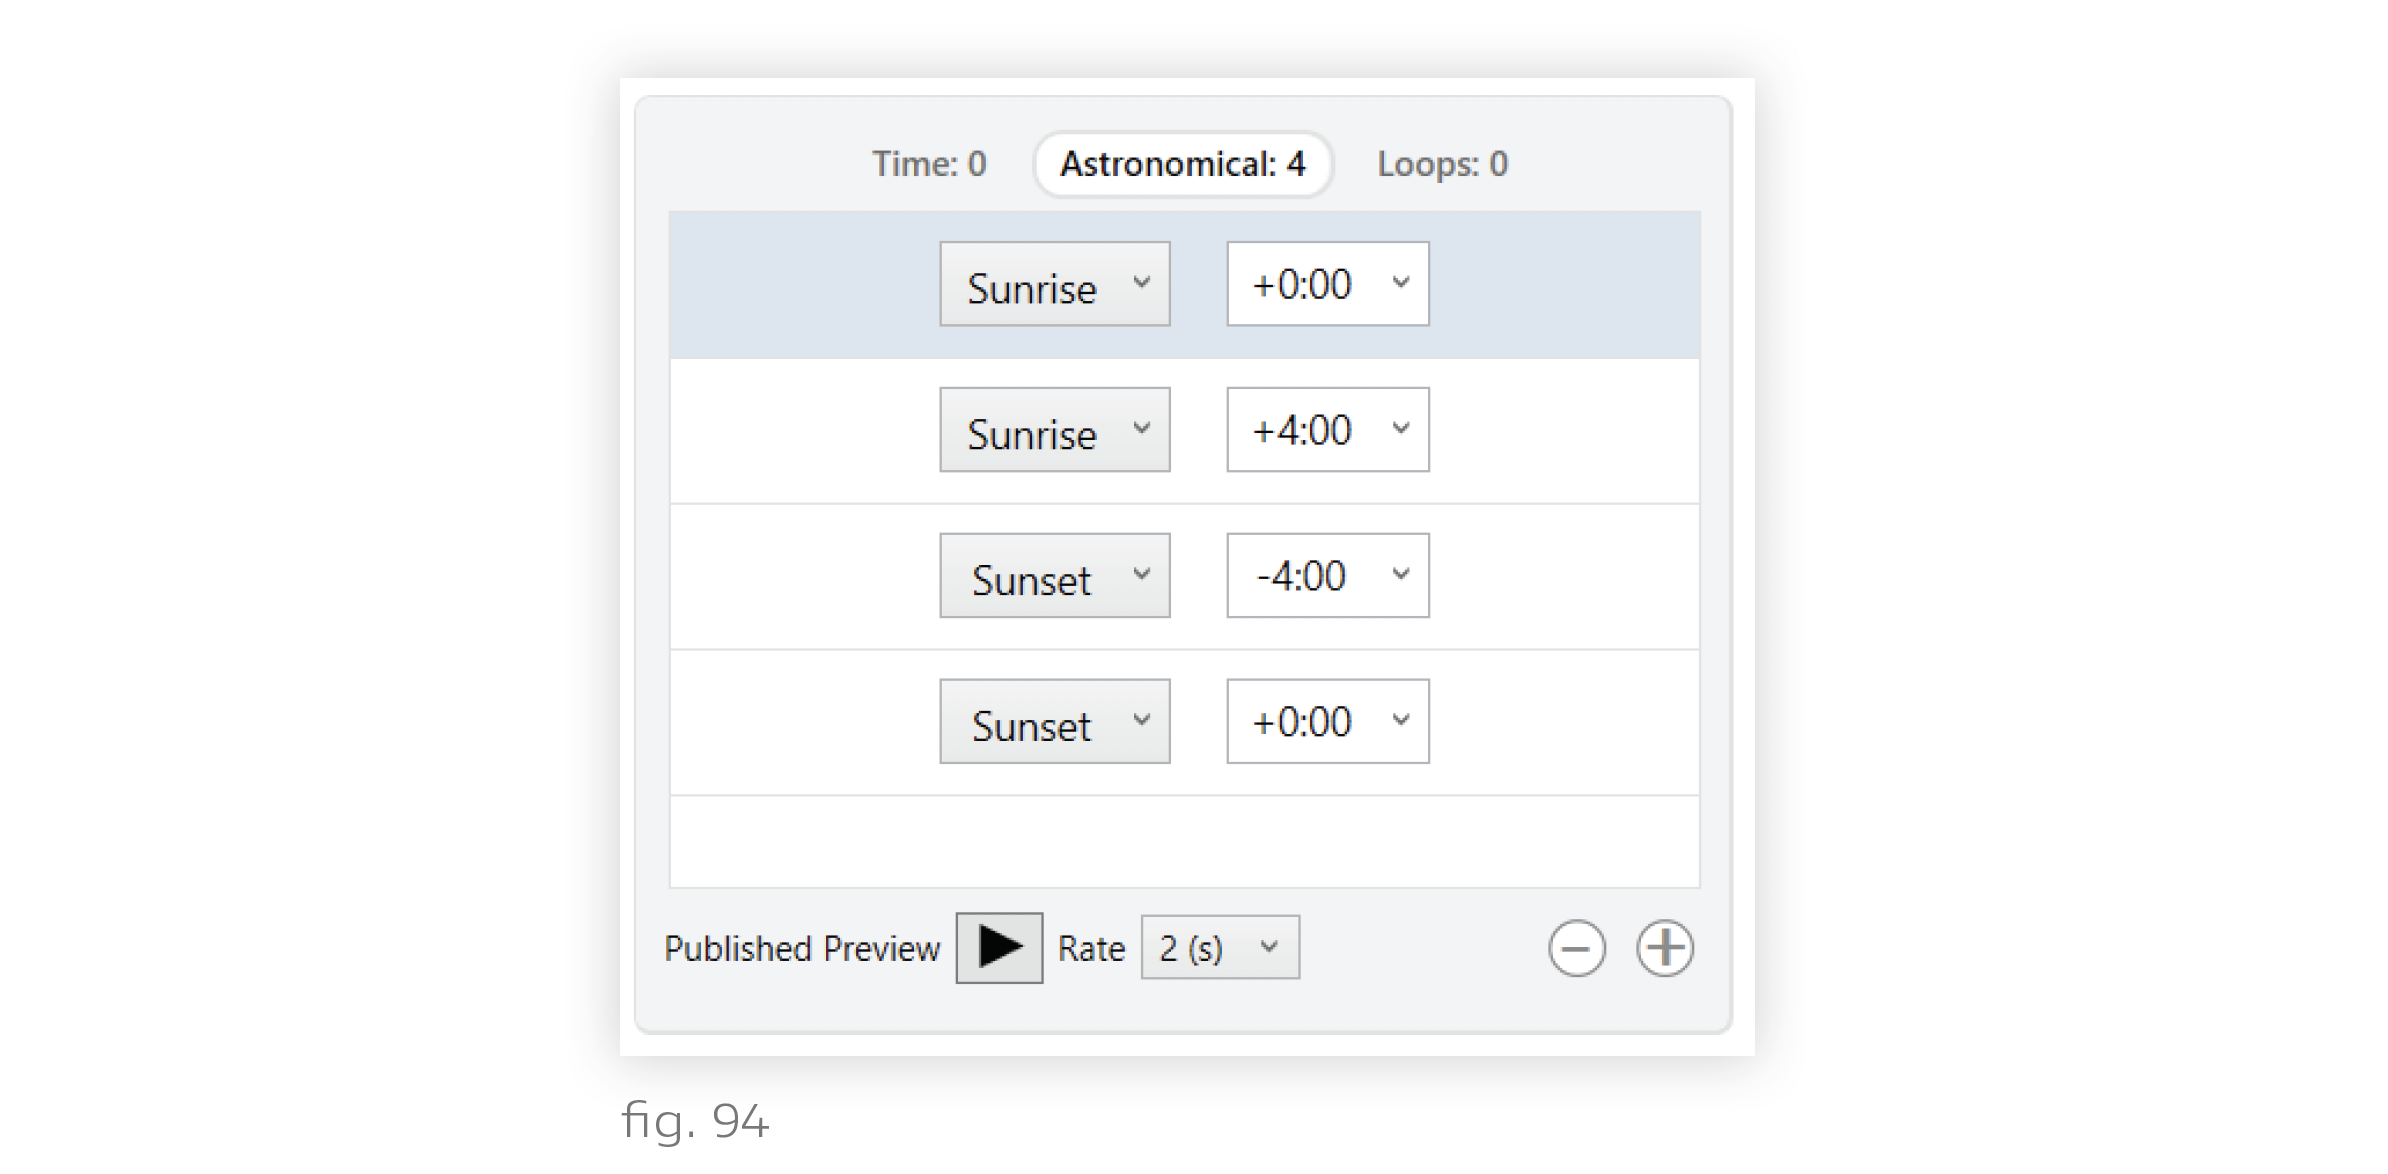
Note: For accelerated creation of a show with astronomical triggers, click Create Natural Show at the bottom of the My Shows list.
Looping Triggers
These take effect in a looping sequence. Example: Every 2 minutes, a new scene plays; after 6 minutes (i.e., 3 scenes), the sequence repeats.
For a step-by-step example of how loops work, see 6-Minute Looping Show, in the Tutorials section. For an overview, continue reading this section.
Note: Design Studio does not support configuring loops to start from the beginning when triggered by a keypad button or contact closure. Looping goes on in the background at all times, even when the show is not active, so keypads and contact closures can only start the loop at whatever scene is currently active.
On the Loops subtab of the triggers list, use the + button to add triggers. Remove triggers by highlighting one and clicking the minus button, -.
Loops repeat after an amount of time provided by you. Each loop consists of multiple triggers. You will add individual triggers, and then determine how they fit together in a loop.
Note: The runtime must be a factor of 60 minutes. For example, your runtime can be 6 minutes, but not 7. It also cannot be less than 1 minute.
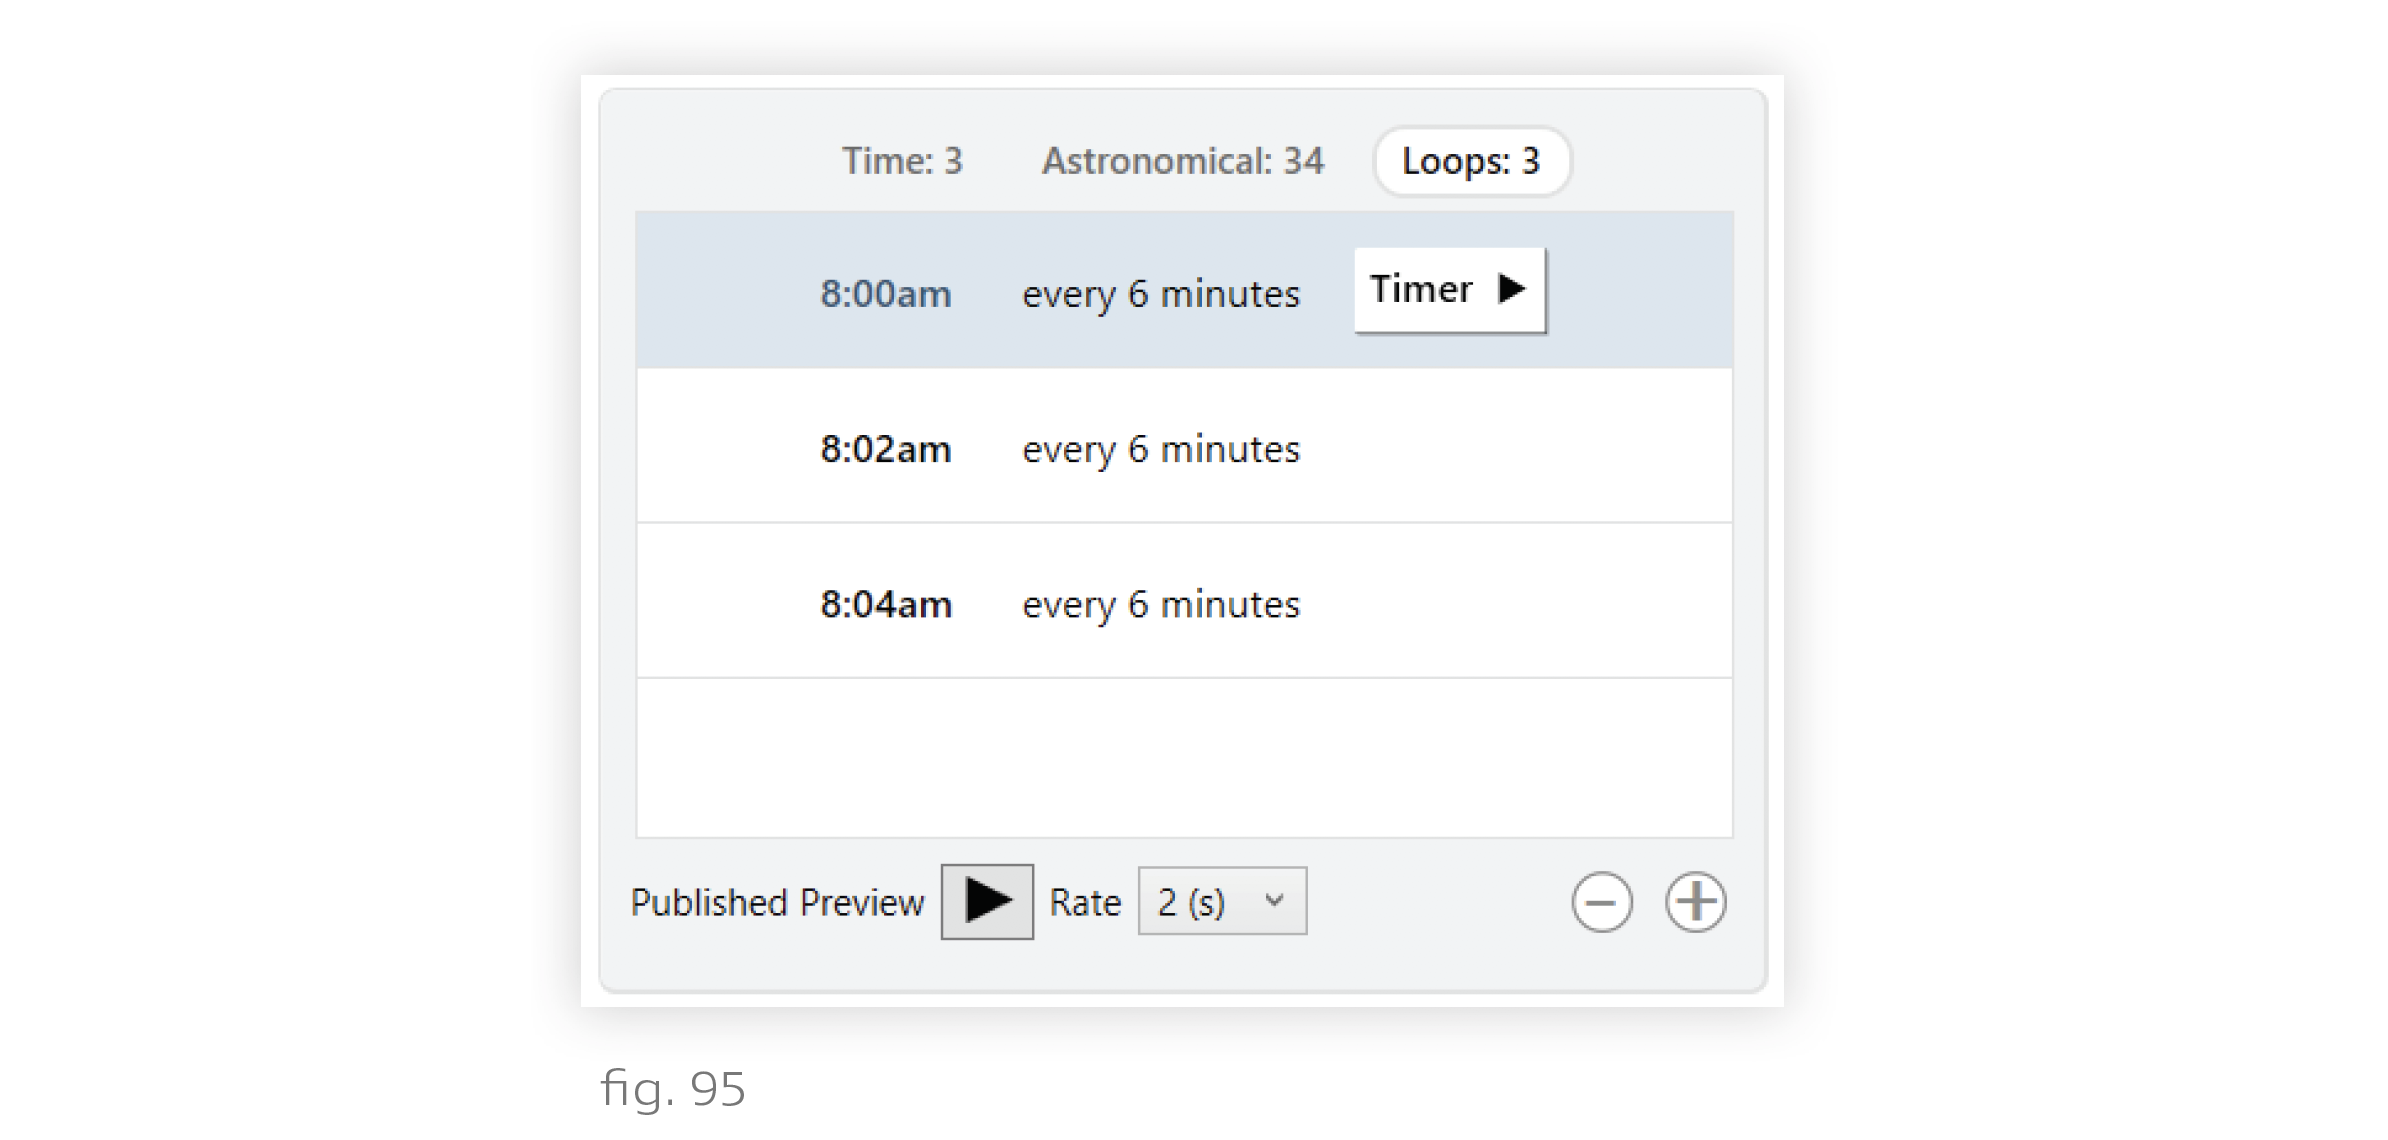
When you first add a trigger in a loop, it is considered undefined. To define a trigger, select it and click the Timer button to open the small configuration dialogue box. Each trigger needs to know the runtime of the loop it’s in (Loop every), how long to wait before starting (Start offset), and the range of times to be active (Starting at and Ending at).