Shows can either run automatically or run upon being triggered by a keypad button press or contact closure input.
Enabling a Show to Run Automatically
Caution: In Ketra with HomeWorks QS installations, you should set shows to run automatically using a timeclock in HomeWorks QS, not Ketra Design Studio. Make sure to set any of the shows you build in Design Studio to Trigger with Show Group, not Run Always, before you import the installation into HomeWorks QS.
If a show is set to run automatically, it will run on a recurring basis (you define how frequently).
Note: Automatic shows are ideal for groups that are not also being controlled by keypad. If a group is being controlled by keypad, it is more appropriate to assign the show to a keypad button, since automatic shows cannot be initiated or deactivated by a keypad button or other trigger.
To set a show to run automatically, follow these steps:
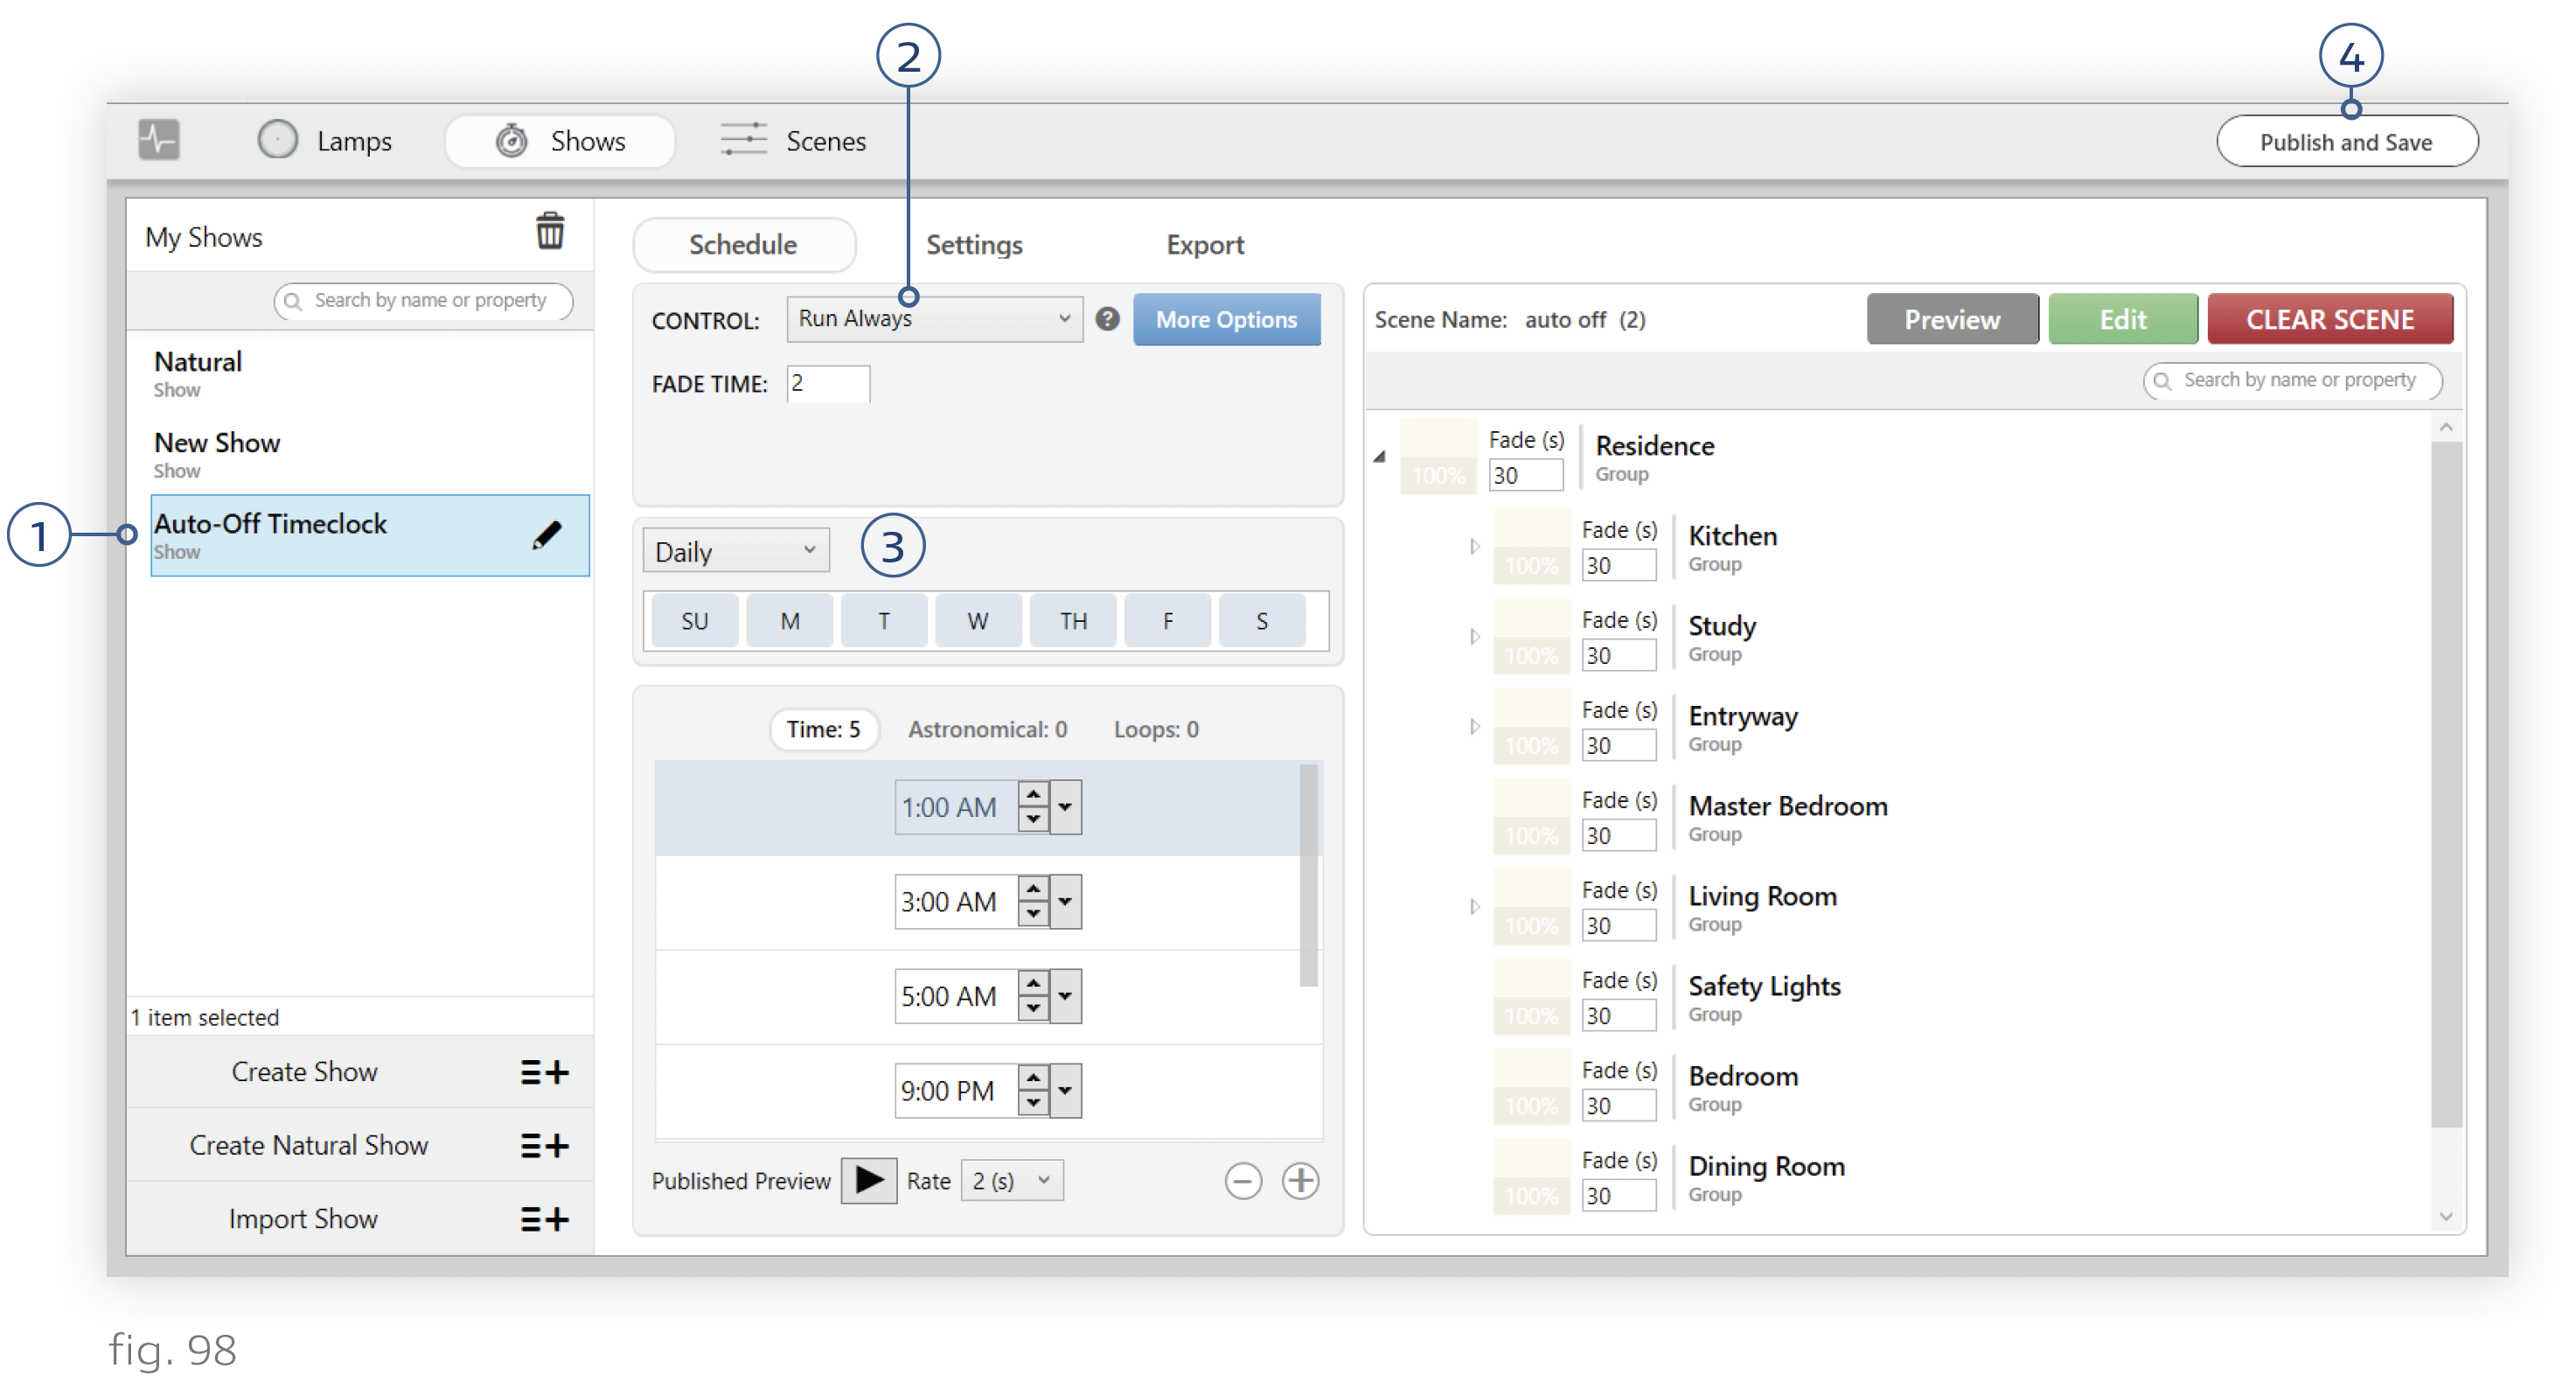
1. Select the show in the My Shows panel (left).
2. Set the Control dropdown.
- In a Ketra Only show, choose "Run Always".
- In a Ketra with HomeWorks QS show, choose "Trigger with Show Group".
3. Optional: In a Ketra Only show, set days of the week, a date range, or a monthly schedule on which the show will run. By default, automatic shows will run 365 days a year. However, you can use this run frequency tool to tell an automatic show to run only on, say, Monday through Friday in December. You can configure your show’s run frequency as one of the following:
- Daily: Determine which days of the week your show will run.
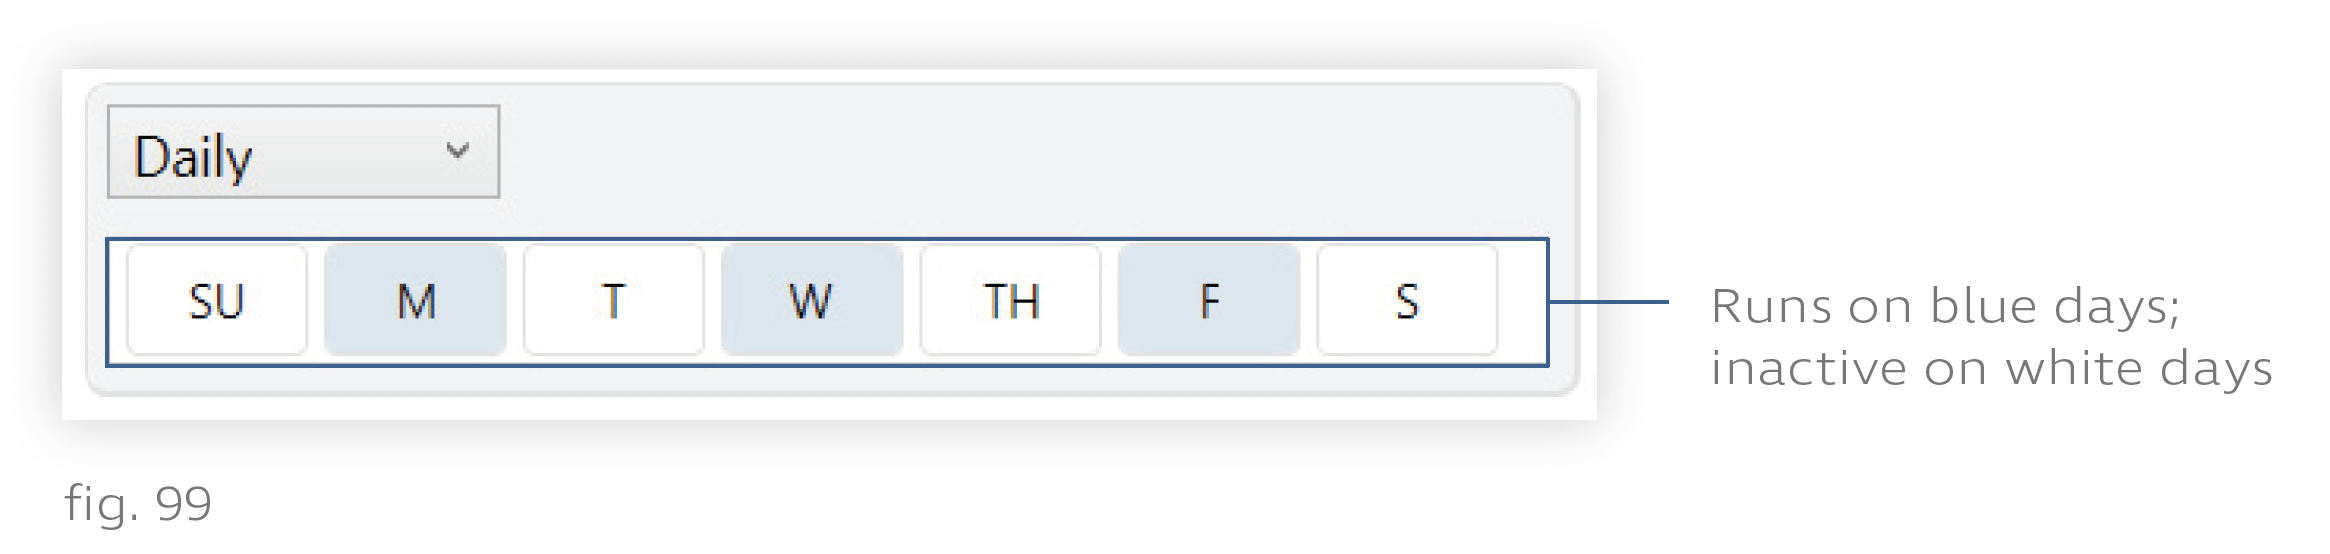
Note: Days of the week turn blue when they’re selected, and white when they’re deselected. For example, in the image above, Monday, Wednesday, and Friday are selected.
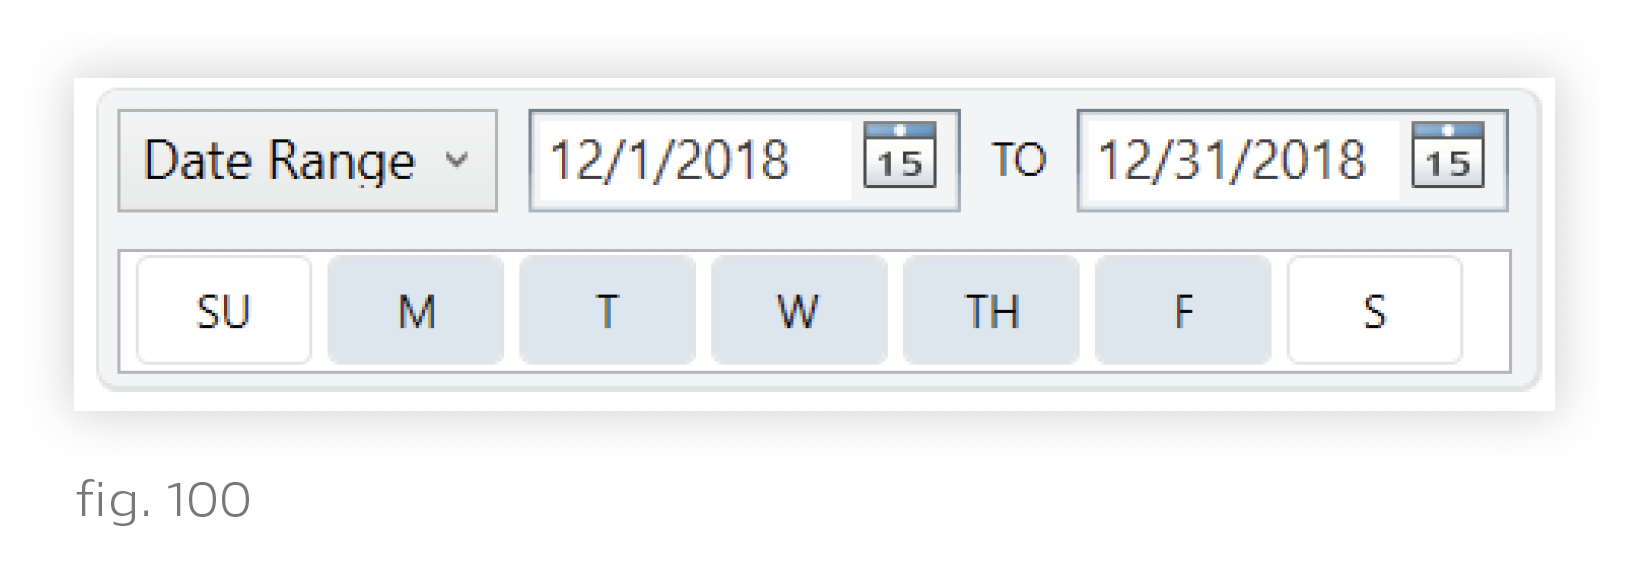
- Date Range: Set a range of dates for the show to run, using the two calendars. You can also choose days of the week to run. In the image below, a show is configured to run Monday through Friday in December. You cannot set a date range that gets interrupted by a holiday or other event and then continues. To do that, you would need multiple shows.
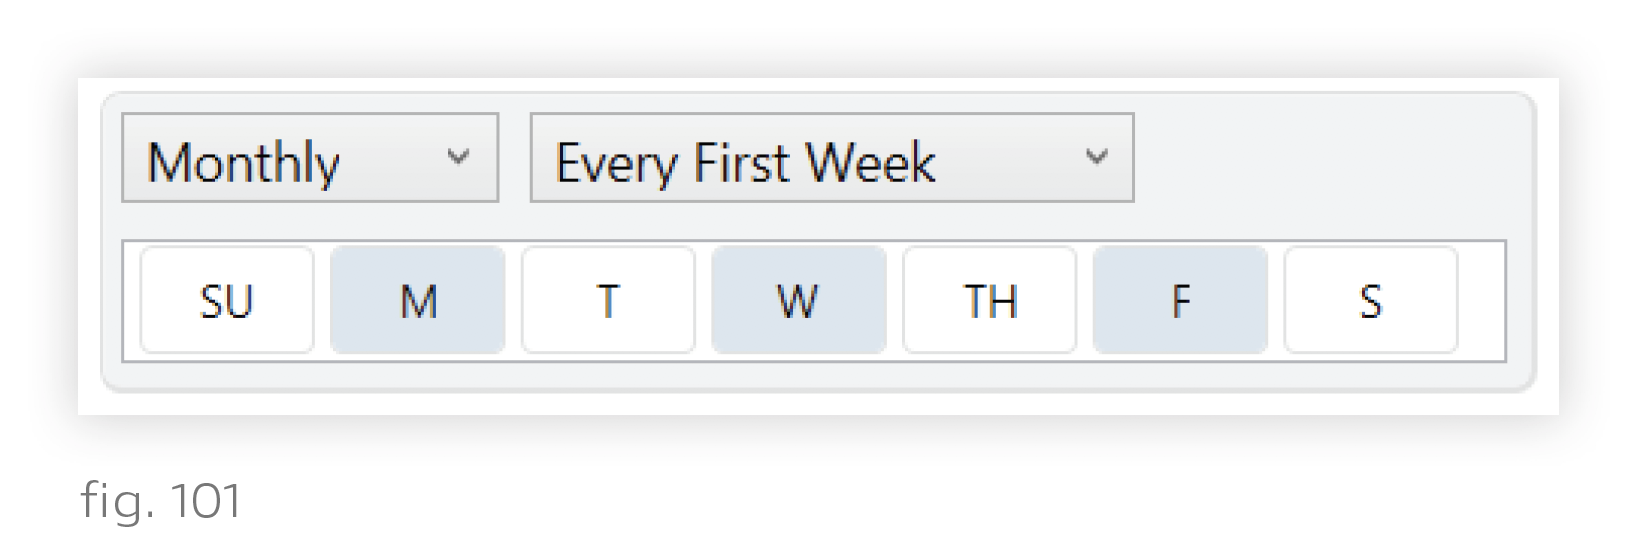
- Monthly: This option lets you repeat the show in a certain week of every month. Here, too, you can pick days of the week that you want your show to run. In the image below, the show will run every Monday, Wednesday, and Friday in the first week of every month.
4. Save your settings by clicking Publish and Save in the top-right.
Enabling a Show to Run When Triggered
Shows can be run upon being triggered by either a keypad button or a contact closure input (e.g., an occupancy sensor).
To assign a show to a keypad button or contact closure input, follow these steps:
1. Select the show in the My Shows panel (left).
2. Set the Control dropdown to "Trigger with Show Group". This tells the show you are going to assign it to a keypad or contact closure input. When the show is triggered, it will play on the keypad’s or satellite’s groups.
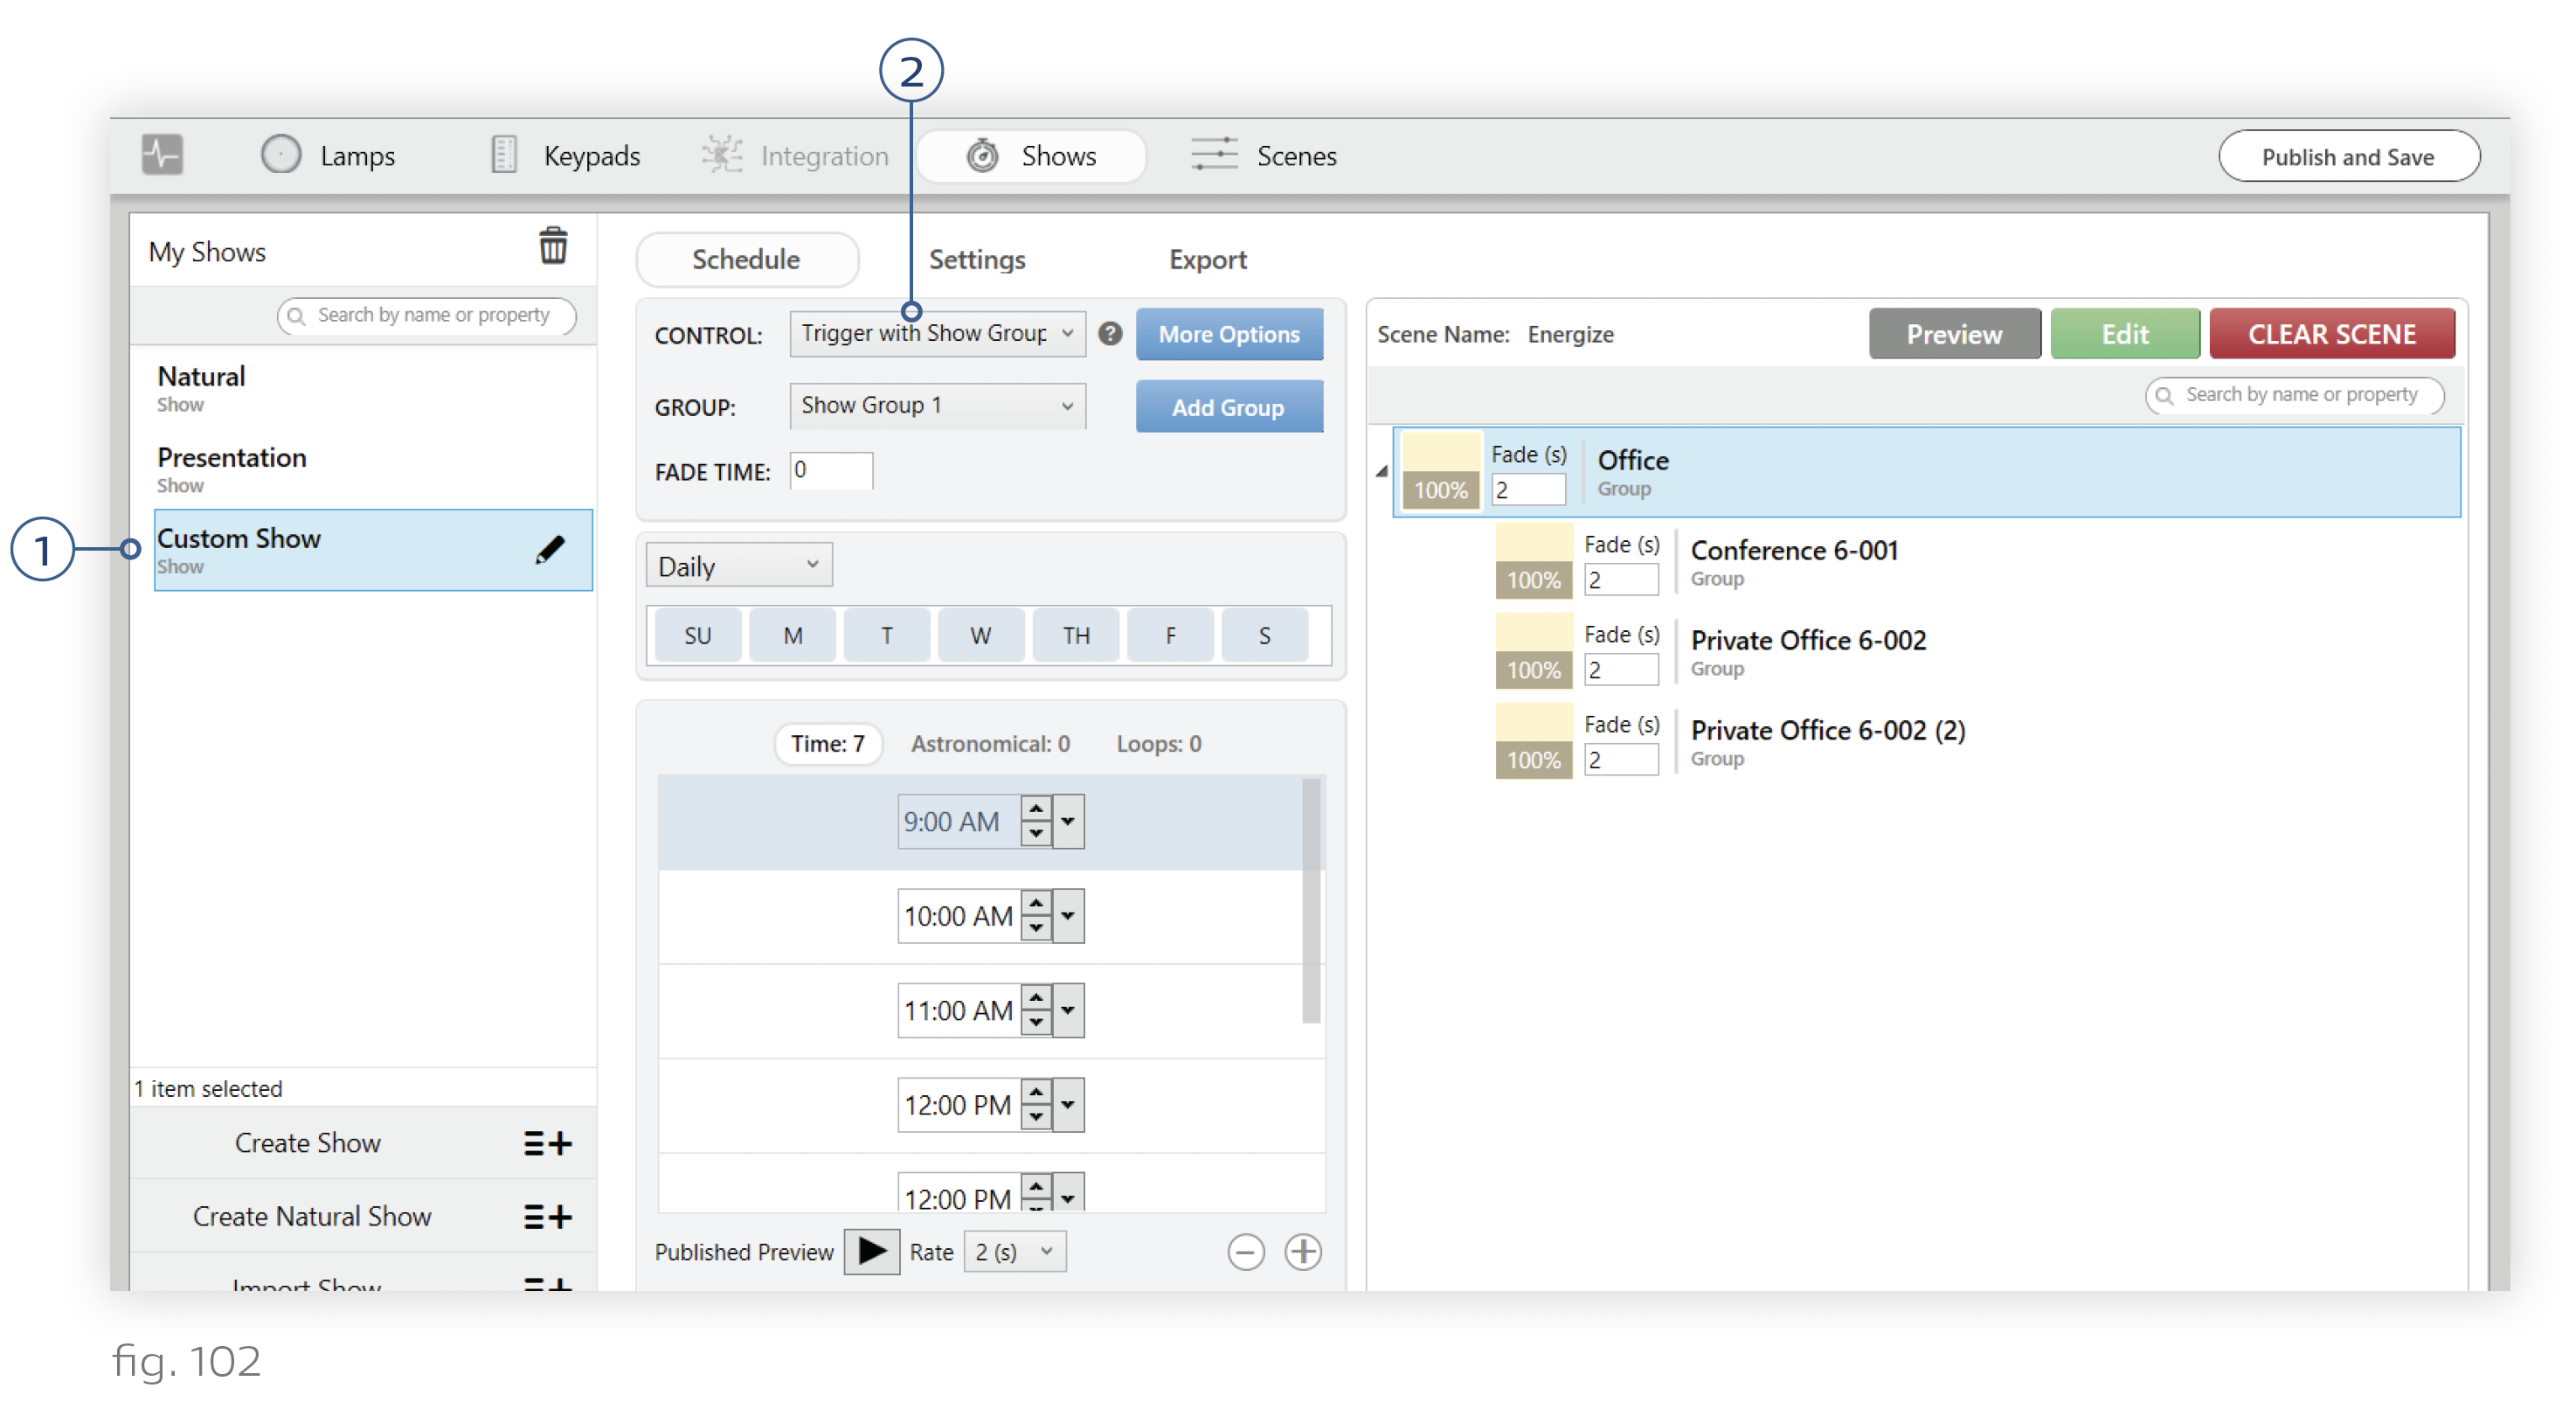
If you choose "Trigger with Show Group", pick a “show group” (i.e., category) for your show. You will reference the show group when you assign the show on the Keypads tab or Integration tab.
You can add a show group by clicking the Add Group button. To rename the show group, go to Shows > Settings > Show Groups. (This is covered in more detail in Managing Show Groups.)
Note: You can put multiple shows into the same show group. When an analog input or keypad button press triggers the show group, all of the shows will play. You should therefore make sure that none of the shows that are grouped together will issue conflicting commands. For example, you might have one show that runs Monday through Friday and another show that runs Saturday and Sunday.
Selecting "Trigger with Show Group" enables you to assign the show to a keypad button or analog input, but it doesn’t automatically assign it for you. You still need to go to the Keypads or Integration tab and assign the show group to a trigger.
Note: When a show is triggered, it automatically retrieves the correct color and intensity configurations for the given time, even if their corresponding time trigger has already passed. So if you have a trigger for 2 PM and a trigger for 3 PM, then triggering the show at 2:30 PM will turn the lights on with the 2 PM setting.
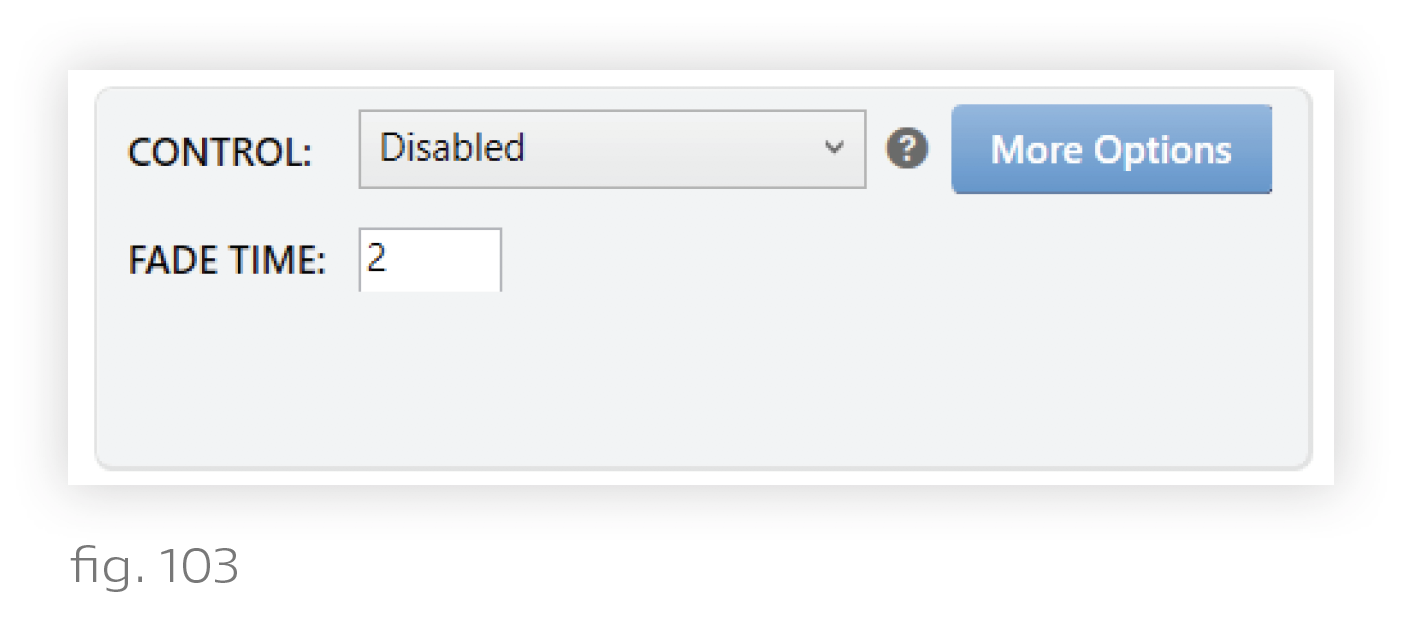
Disabling a Show for Later Use
You can disable any show to save it for later while ensuring that it doesn’t run on your lights. To do so, follow these steps:
- Select the show in the My Shows list (left).
- Set the Control dropdown to "Disabled".
- Click Publish and Save in the top-right corner.
Note: If the show was part of a show group which had already been assigned to a keypad button or contact closure input, the show group will remain assigned to that input. However, the show itself will no longer be part of the show group. If that leaves the show group empty, then the input will not actually be able to trigger any changes to your lighting.